Setting up free spam and virus filtering on your Axigen Mail Server is straightforward with SpamAssassin and ClamAV. In this guide, we’ll walk you through the installation and configuration process on a Linux system. Whether you’re using a DEB-based distribution like Ubuntu or an RPM-based one like CentOS, this guide has you covered.
If you’re using Docker, check out our earlier guide on running Axigen with SpamAssassin and ClamAV using Docker Compose. In contrast, the instructions below are specifically for setting up these tools directly on a Linux environment.

SpamAssassin
Step 1: Installing and Starting SpamAssassin
For RPM-based distributions (RedHat / CentOS / Alma / Rocky)
1.1. Install SpamAssassin
dnf install spamassassin
1.2. Enable and Start the SpamAssassin Service
systemctl enable spamassassin
systemctl start spamassassin
For DEB-based distributions (Ubuntu / Debian)
1.1. Install SpamAssassin
sudo apt install spamassassin
1.2. Enable and Start the SpamAssassin Service
sudo systemctl enable spamassassin
sudo systemctl start spamassassin
Step 2: Configuring SpamAssassin in Axigen
-
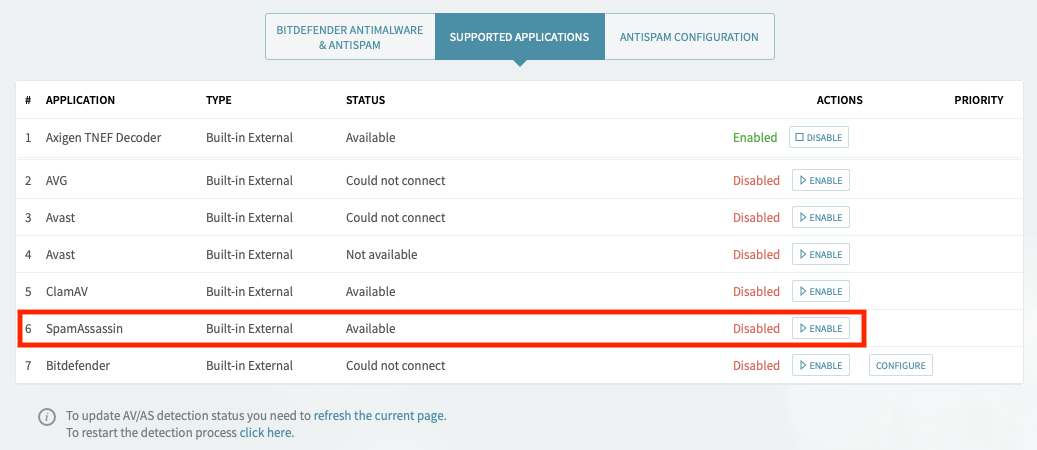
Access the Axigen WebAdmin interface and go to Security & Filtering → AntiVirus & AntiSpam → Supported Applications.
-
Check if SpamAssassin is available and enable the filter.
Step 3: Adjusting the Spam Thresholds
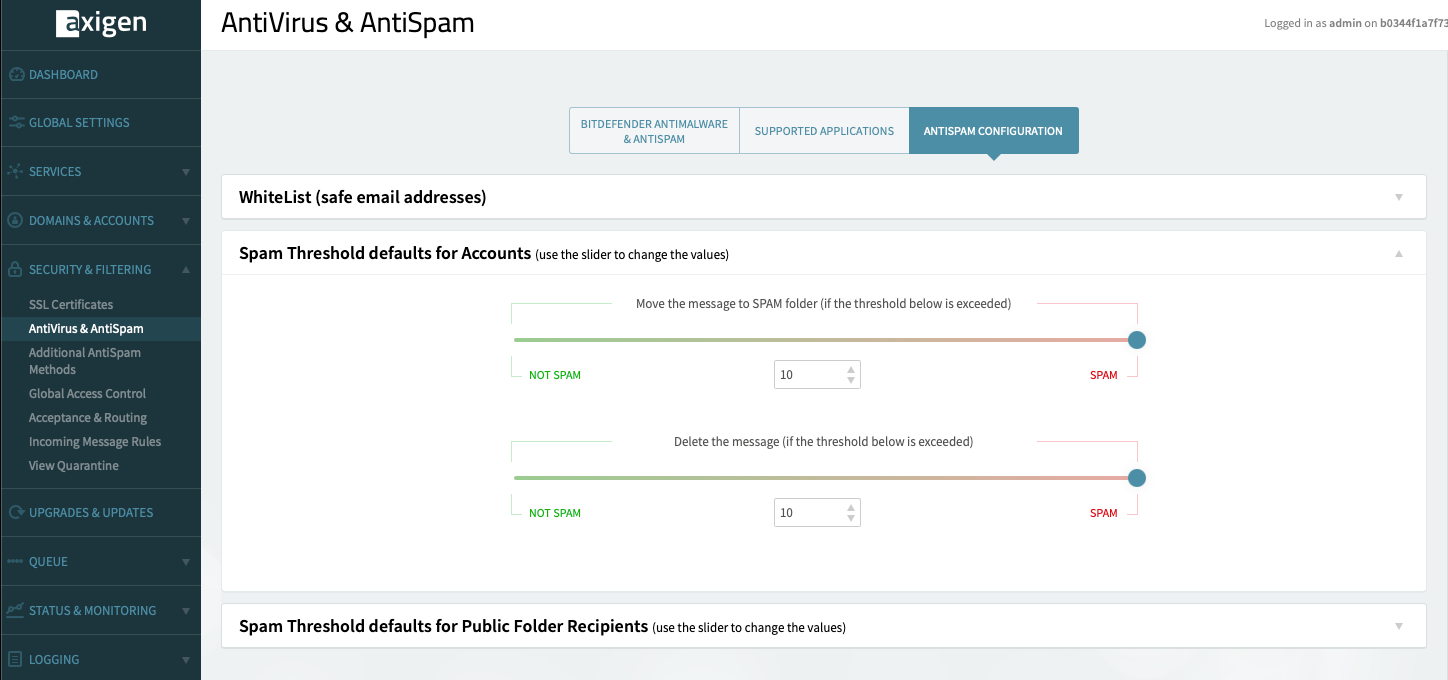
Customize how Axigen handles spam by adjusting the Spam Threshold settings in the WebAdmin interface by going to Security & Filtering → AntiVirus & AntiSpam and accessing the AntiSpam Configuration tab.
-
For Accounts, scroll down to the Spam Threshold Defaults for Accounts section.
-
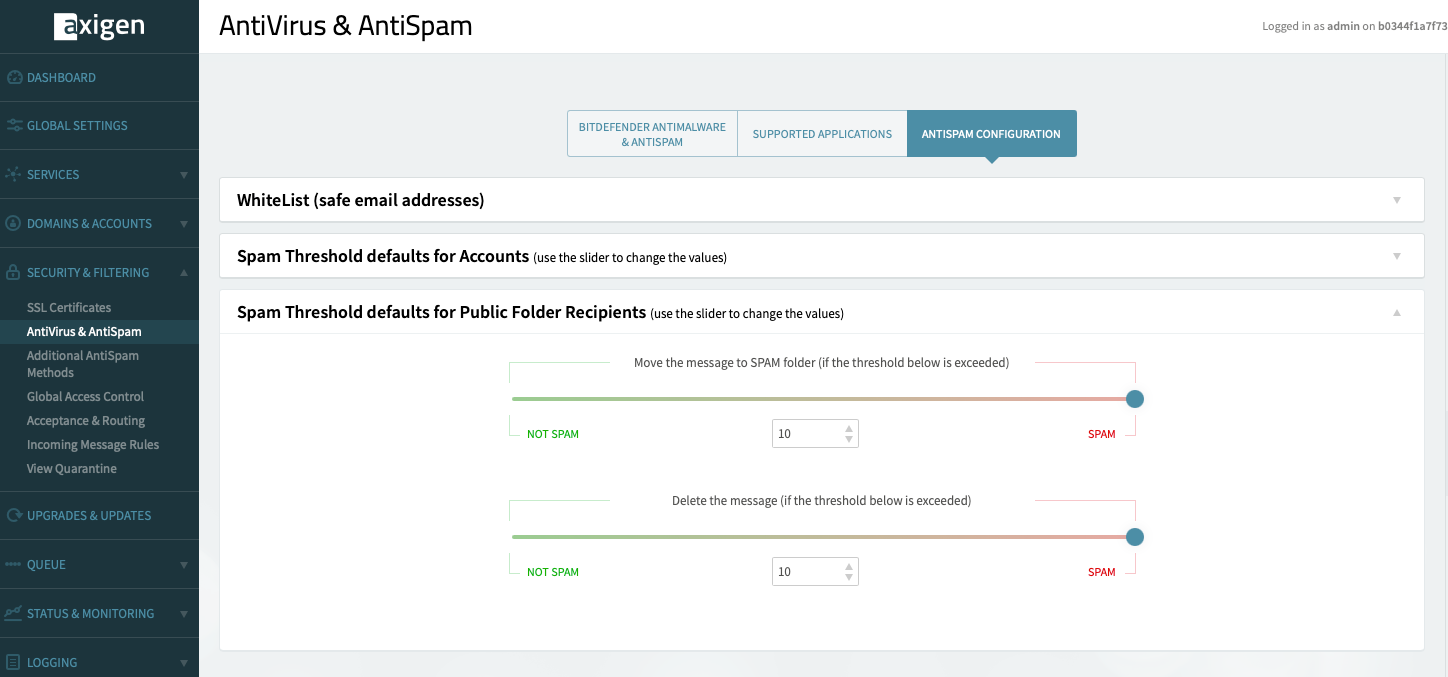
For Public Folders, scroll down to the Spam Threshold Defaults for Public Folder Recipients section.
ClamAV
Step 1: Installing and Starting ClamAV
For RPM-based Distributions (RedHat / CentOS / Alma / Rocky)
1.1. Enable the EPEL Repository and Install ClamAV
dnf install epel-release
dnf install clamav clamav-update clamd
1.2. Modify the ClamAV Configuration to Enable the TCP Listener
cp /etc/clamd.d/scan.conf /etc/clamd.d/scan.conf.backup
sed -i -e "s/^Example/#Example/" /etc/clamd.d/scan.conf
cat << EOF >> /etc/clamd.d/scan.conf
TCPSocket 3310
TCPAddr 127.0.0.1
EOF
1.3. Add the clamscan User to the axigen Group
usermod -aG axigen clamscan
1.4. Modify the Freshclam Configuration and Download the Latest Virus Definitions
cp /etc/freshclam.conf /etc/freshclam.conf.bakup
sed -i -e "s/^Example/#Example/" /etc/freshclam.conf
freshclam
1.5. Enable and Start the ClamAV Service
systemctl enable clamd@scan
systemctl restart clamd@scan
Note: If SELinux is enabled and in enforcing mode, it will heavily restrict what the ClamAV daemon can do. You may need to run:
setsebool -P antivirus_can_scan_system 1
setsebool -P clamd_use_jit 1
Note: By default, Freshclam will not run automatically. Moreover, in order to get the latest virus definitions, Freshclam should run as a service.
cat << EOF >> /usr/lib/systemd/system/freshclam.service
[Unit]
Description = Freshclam
After = network.target
[Service]
Type = forking
ExecStart = /usr/bin/freshclam -d -c 2
Restart = on-failure
PrivateTmp = true
[Install]
WantedBy=multi-user.target
EOF
systemctl enable freshclam.service
systemctl start freshclam.service
For DEB-based Distributions (Ubuntu / Debian)
1.1. Install ClamAV and Its Daemon
sudo apt install clamav clamav-daemon
1.2. Modify the ClamAV Configuration to Enable the TCP Listener
sudo cp /etc/clamav/clamd.conf /etc/clamav/clamd.conf.backup
sudo sed -i -e "s/^Example/#Example/" /etc/clamav/clamd.conf
sudo cat << EOF >> /etc/clamav/clamd.conf
TCPSocket 3310
TCPAddr 127.0.0.1
EOF
1.3. Add the clamav User to the axigen Group
sudo usermod -aG axigen clamav
1.4. Enable and Start the ClamAV Service
sudo systemctl enable clamav-daemon
sudo systemctl restart clamav-daemon
Note: If AppArmor is running, it may restrict ClamAV. You can set the profile to complain mode (the aa-complain command requires the apparmor-utils package to be installed).
sudo aa-complain /usr/sbin/clamd
Step 2: Configuring ClamAV in Axigen
-
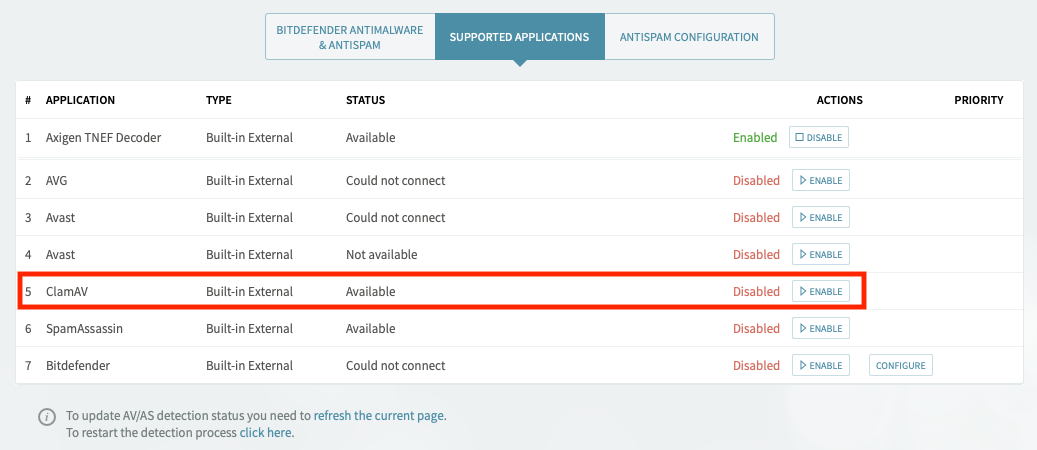
Access the Axigen WebAdmin interface and go to Security & Filtering → AntiVirus & AntiSpam → Supported Applications.
-
Check if ClamAV is available and enable the filter.
Step 3: Managing Infected Messages
After scanning, each message will have a new X-AxigenVirus-Level header with a score from 1 (clean) to 5 (virus infected).
To handle infected messages:
- In WebAdmin, go to Security & Filtering → Incoming Message Rules and hit the + Add Message Rule button.
- In the Matches section, choose Custom → X-AxigenVirus-Level → Is and specify the infection level
- In the Actions section:
- Choose Change subject → Prepend and enter [VIRUS]
- Move to → Trash
Example Rule:
- If a message has an X-AxigenVirus-Level of 5, change the subject to prepend [VIRUS] and move it to the Trash folder.
Conclusion
You’ve now set up SpamAssassin and ClamAV on your Linux-based Axigen Mail Server. This configuration will help keep your email system free from spam and viruses. For those working in Docker environments, don’t forget to explore our guide on running SpamAssassin and ClamAV via Docker Compose.