This guide explains how to set up WebMail authentication delegation from Axigen to Microsoft Entra ID (formerly Azure AD) using OpenID Connect (OIDC). It focuses on direct integration with Microsoft Entra ID, while a separate guide will cover the Axigen-Keycloak-Microsoft Entra ID configuration.
Note: This integration is designed exclusively for authentication and does not support account synchronization between Microsoft Entra ID and Axigen’s hosted domains and accounts.
Prerequisites
Before you start, ensure you have:
- A functional Axigen installation with domains and accounts already created.
- Valid SSL certificates for the WebMail service listeners.
- Access to a Microsoft Entra ID tenant with permissions to create App Registrations.
Step 1: Create a New Application in Microsoft Entra ID
- Log in to Microsoft Azure
- Navigate to the Microsoft Azure portal
- Sign in with an administrator account.
- Register a New Application
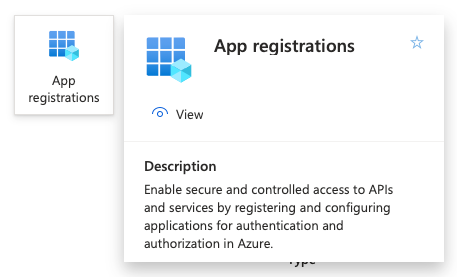
- Go to App Registrations and click + New registration.
- Provide a meaningful name, such as “Axigen” or “AxigenServer.” Remember that this is the name your users will see on their first login when asked to authorize this app for their accounts.
- Under “Supported account types,” select Accounts in this organizational directory only (single tenant).
-
For “Redirect URI (optional),” choose Web and enter:
https://<HOSTNAME_OF_YOUR_ON_PREM_AXIGEN_SERVER>:443/?action=oauthLogin&custom=ajaxdirect
Replace the port if your Axigen server uses a custom HTTPS port.
- Click Register.
- Go to App Registrations and click + New registration.
- Save Key Details
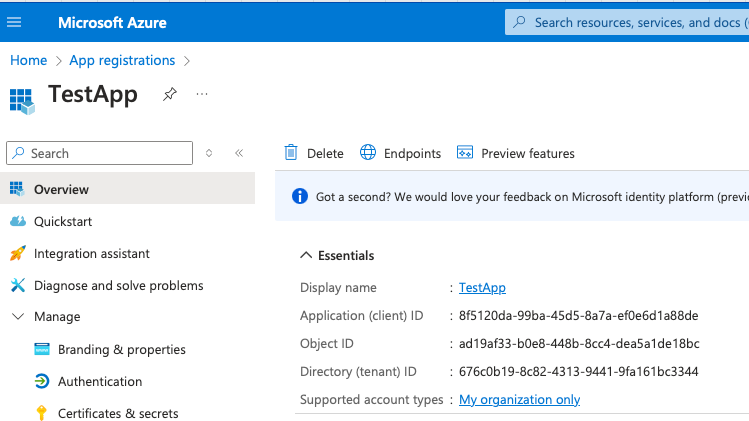
- Note the Application (client) ID (<VALUE_OF_APPLICATION_(CLIENT)_ID>) and Directory (tenant) ID (<VALUE_OF_DIRECTORY_(TENANT)_ID>) for later configuration.
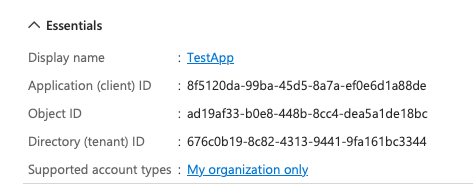
- Note the Application (client) ID (<VALUE_OF_APPLICATION_(CLIENT)_ID>) and Directory (tenant) ID (<VALUE_OF_DIRECTORY_(TENANT)_ID>) for later configuration.
- Create a Client Secret
- Under “Manage,” go to Certificates & Secrets and click + New client secret.
- Add a description and select an expiry period.
- Save the generated Value securely, as it will be required in Axigen’s configuration.
- Add Optional Claims
- Under “Manage,” go to Token configuration and click + Add optional claim.
-
Select ID, check email, and click Add.

- Repeat for Access, ensuring “email” is also checked.
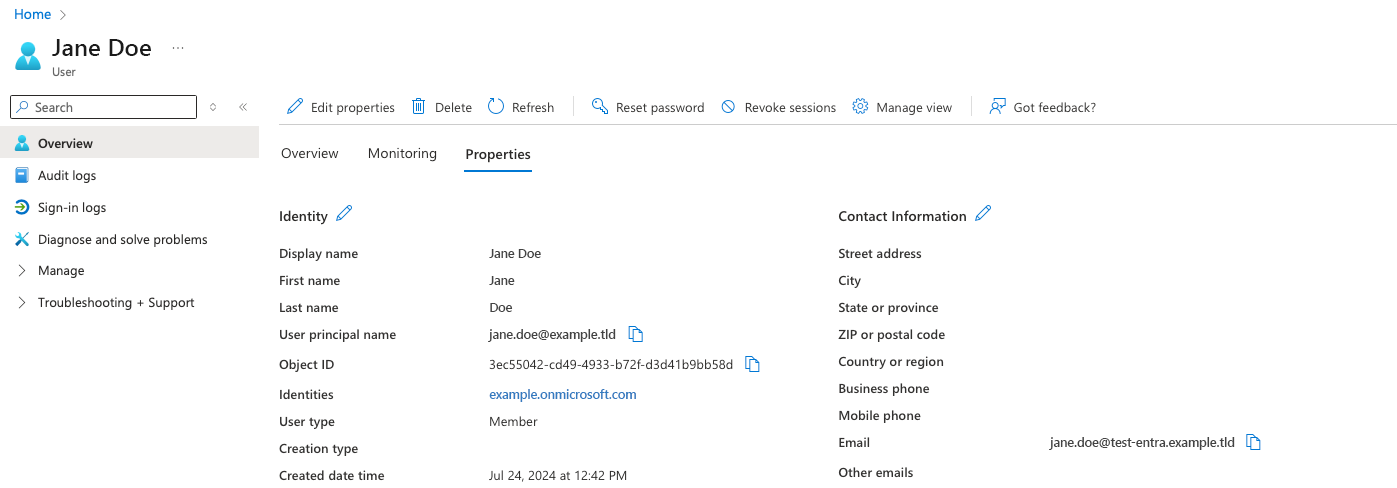
- Verify Email Property
- Return to the Azure portal homepage, then navigate to the Microsoft Entra ID Azure service.
-
Under Users in “Manage,” select any user and confirm their “Email” property matches the corresponding Axigen account.
Step 2: Configure the OpenID Connect connector in Axigen
- Add an OAuth Connector
- Access Axigen’s CLI interface.
-
Use the following commands:
config server
config userdb
add oauthconnector name ms-entra-id-oidc mode oidc
set clientId <VALUE_OF_APPLICATION_(CLIENT)_ID>
set clientSecret <VALUE_OF_SECRET>
set autoConfigUri https://login.microsoftonline.com/<VALUE_OF_DIRECTORY_(TENANT)_ID>/v2.0/.well-known/openid-configuration
set usernameField email
commit
commit
save config
- Update the WebMail Configuration
-
Still in Axigen’s CLI interface, go back home and use these commands:
config server
config webmail
set userdbConnectorType oauth
set UserDBConnectorName ms-entra-id-oidc
commit
save config
-
Conclusion
By following these steps, you can successfully integrate Axigen WebMail with Microsoft Entra ID for authentication delegation. This setup enhances your organization’s identity management while maintaining flexibility. For additional support or detailed troubleshooting, refer to the Axigen documentation or contact technical support.