Migrating an Axigen virtual machine (VM) from VMware ESXi to Proxmox VE can be straightforward with the right steps. This guide provides clear instructions to help you transfer your Axigen VM efficiently, ensuring that your email services continue to run smoothly with minimal disruption.
Prerequisites
Before starting the migration, please check the following:
- VMware ESXi Server: Your Axigen VM is currently hosted on a VMware ESXi server.
- Proxmox VE Server: You have a Proxmox VE server ready to receive the migrated VM.
- Access Credentials: Administrative access to both VMware ESXi and Proxmox VE environments is available.
- Backup: A full backup of the Axigen VM and important data is strongly recommended before starting the migration process.
Step-by-Step Migration Process
1. Prepare Proxmox for the Migration
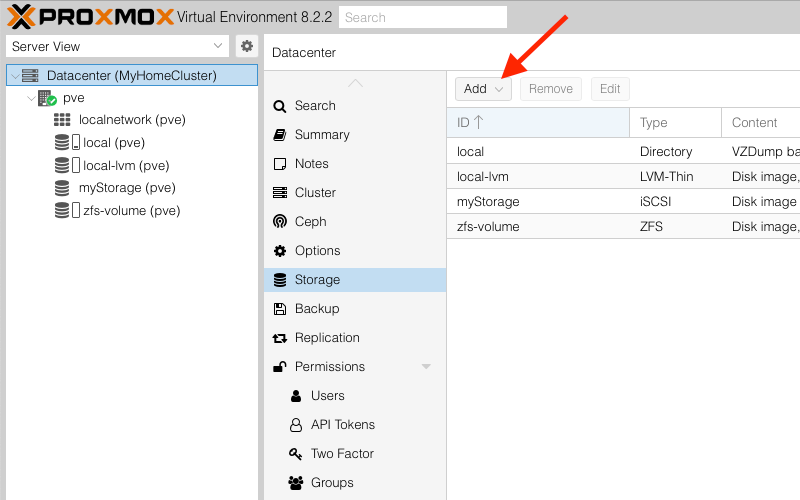
- Log in to the Proxmox web interface.
- Navigate to Datacenter → Storage.
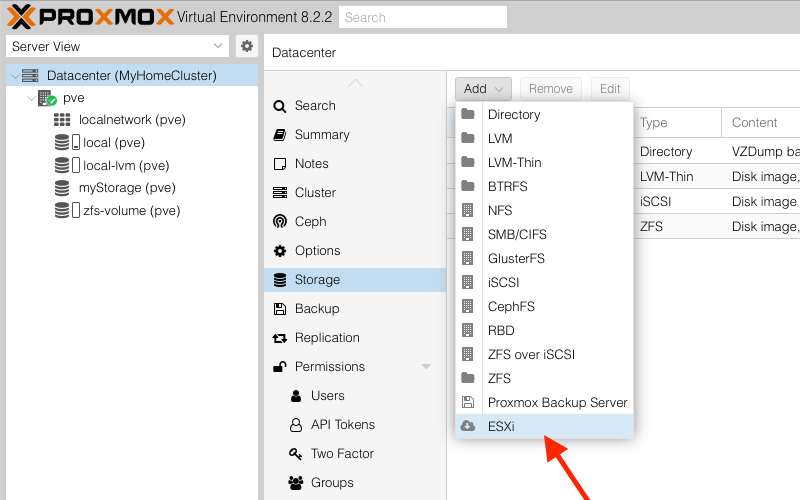
- Click on the “Add” button and select “ESXi” from the dropdown.
2. Configure ESXi Access in Proxmox
In the “Add: ESXi” window, fill in the required details:
- ID: Provide a name for the ESXi server.
- Server: Enter the IP address or hostname of the ESXi server.
- Username: Input the username used to connect to the ESXi platform.
- Password: Enter the corresponding password.
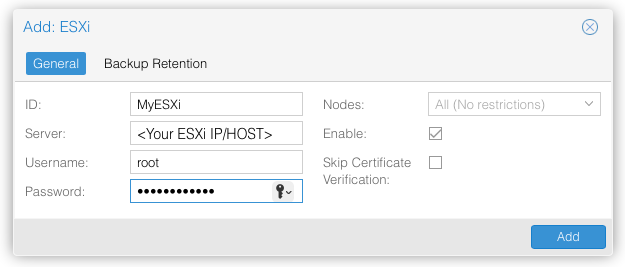
Note: If your ESXi platform uses a self-signed certificate, check the “Skip Certificate Verification” box.
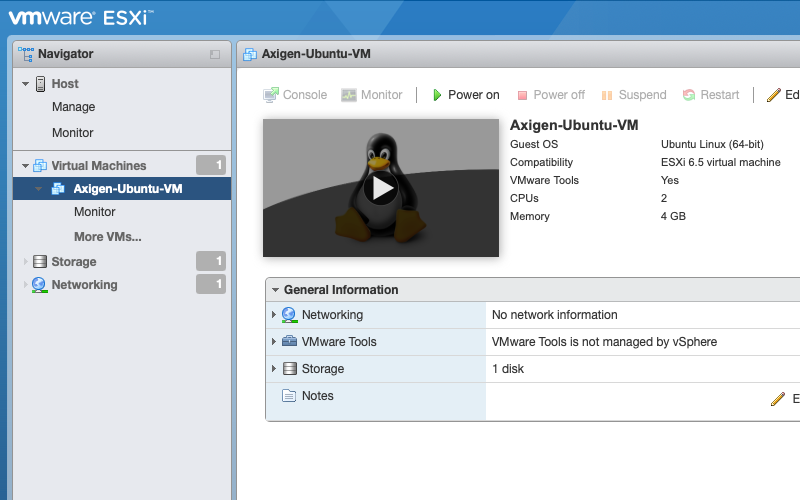
3. Prepare the Axigen VM on ESXi
- Log in to the VMware ESXi web interface.
- Find and power off the Axigen VM that you intend to migrate.
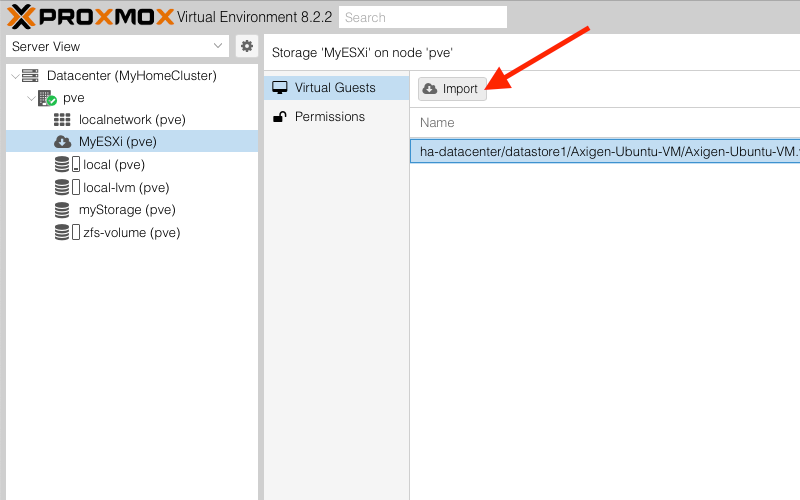
4. Initiate the VM Import on Proxmox
- In the Proxmox web interface, go to Datacenter → Proxmox node (pve).
- Select the ESXi storage you added earlier.
- Locate the Axigen VM in the list, select it, and click on the “Import” button.
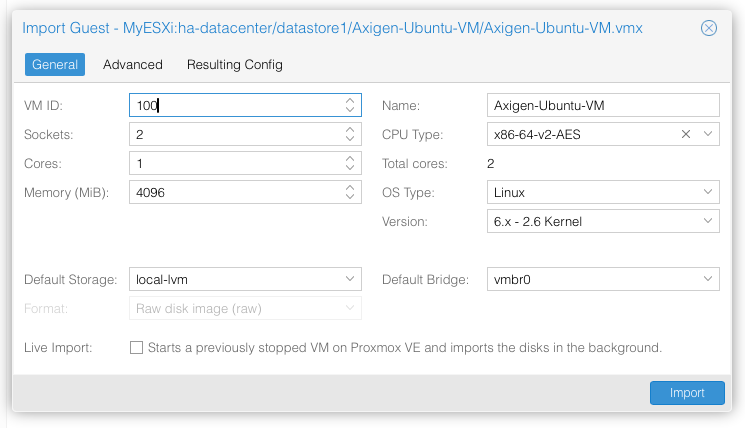
5. Configure the VM to Be Imported
- You can customize the VM configuration during the import process, or you can retain the default settings.
- Click on “Import” to start the migration. This will create a full clone of the Axigen VM on the Proxmox server.
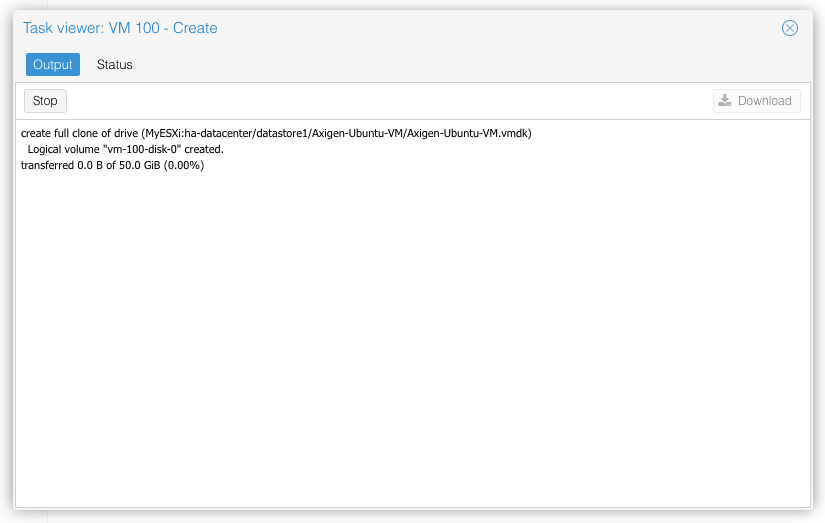
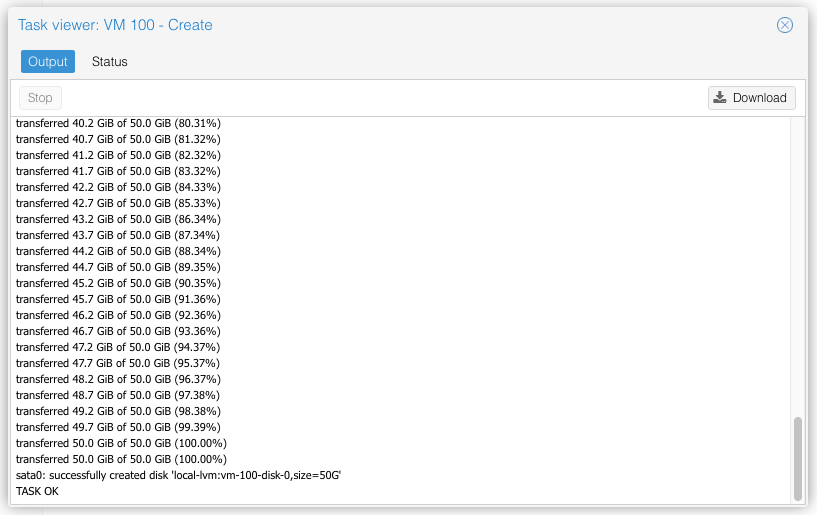
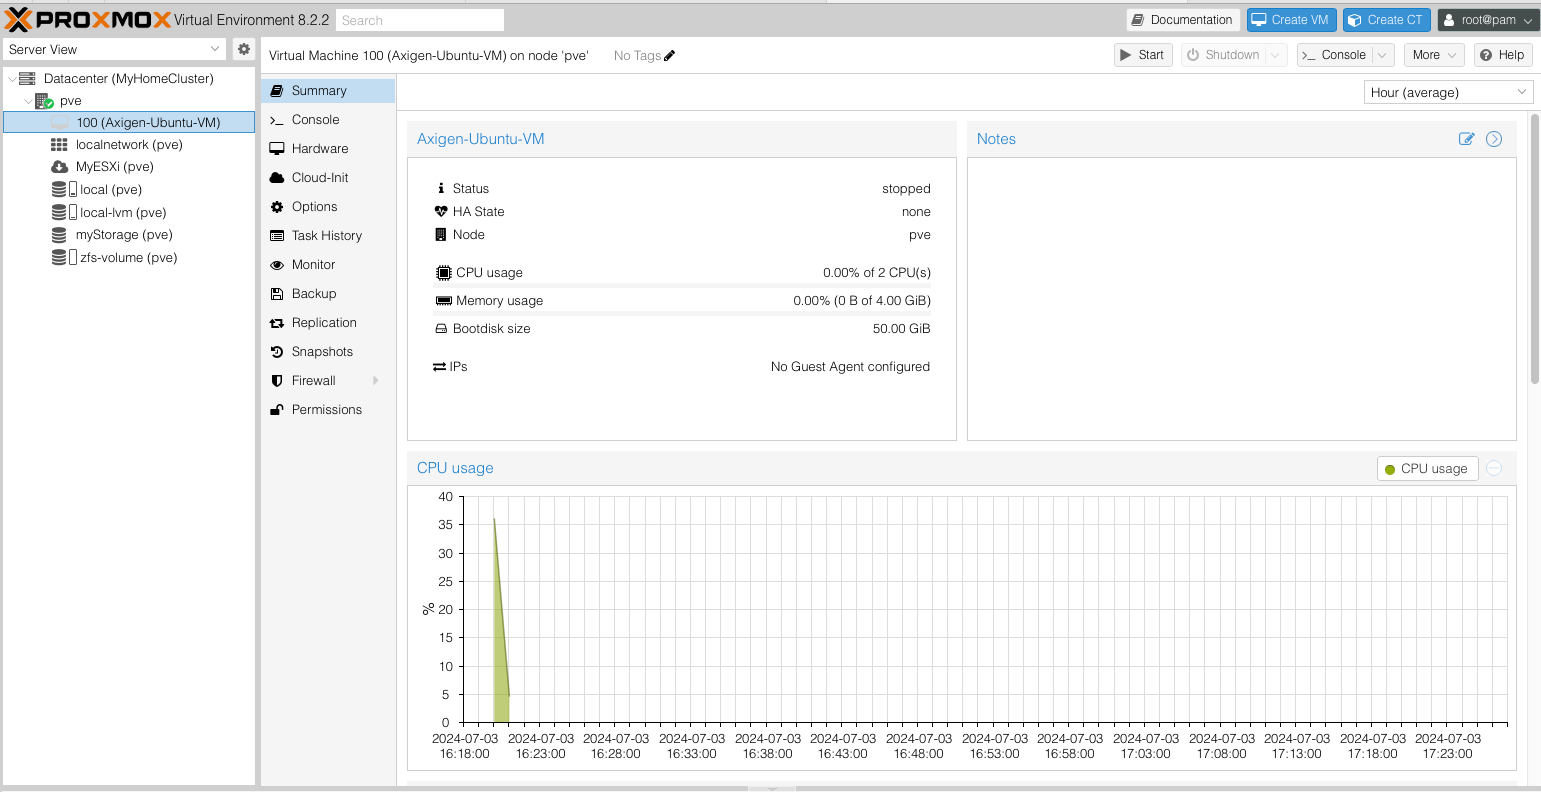
6. Finalize and Start the VM
- Wait for the import process to complete.
- Once finished, select the Axigen VM in Proxmox and start the virtual machine.
Conclusion
Migrating an Axigen VM from VMware ESXi to Proxmox is a manageable process that can be completed with just a few steps. By following this guide, you should be able to transfer your VM with minimal impact on your services.
If you’re looking to set up a new Axigen VM from scratch on Proxmox, you may want to check out our previous guide on deploying the Axigen VMware image in Proxmox.