- Performing Axigen WebMail Single Sign-on
- Deep Linking Emails in Third Party Apps to Open in WebMail
- Integrating Zoom into the WebMail Calendar
- Integrating Microsoft Teams into the WebMail Calendar
- Configuring BIMI for Your Axigen WebMail: A Step-by-Step Guide
- Configuring SMS Connectors for 2-Step Verification and Account Recovery
Updated: November 5, 2021
This article applies to Axigen X1 (10.1.x) through Axigen X3 (10.3.x).
Got a third party portal / app where you aggregate multiple types of information for your users? Here's how you can also show emails from their Axigen mailbox.
This article details how to deep-link emails from external applications so that, when clicked, they get opened in the WebMail.
- 1. Working Assumptions
- 2. Fetching the Emails and Related Info via IMAP
- 3. Building the Deep-linked URL
1. Working Assumptions
To keep things simple, this short guide will proceed under the following assumptions:
-
we only get the last (newest) email, display it in our app and link it to the user's WebMail. Of course, this can be extended to fit with your own criteria.
-
we won't be covering single sign-on in this article — this is something that you will have to do in the background, as for the user we will assume that they will be authenticated based on their login cookie, or will manually log into the WebMail (the deep linking will still apply after login). See here how to set up single sign-on with Axigen WebMail
We assume that you have basic knowledge of IMAP and / or IMAP libraries in your app's programming language — you will use IMAP to display the user's emails in your app.
2. Fetching the Emails and Related Info via IMAP
In this example, we have User A (userA@localdomain) who has 1 email in her Inbox.
We will manually connect via IMAP — this is something that you will need to do programmatically against the WebMail, at the time userA logs into your application.
After login, we do the following operations:
-
Select the desired Axigen folder — in our case, we chose the "Inbox"
We will need the count of the last email returned by IMAP — in our case, there's only one email, so that count will be also 1:
-
Fetch the UID of that email — we will need it for our deep link:
In our case, the ID returned by the IMAP server is also 1:
-
Fetch the content of that email so that we can process it and display it in our app:
You will notice that the IMAP server returns all the necessary headers, as well as the content of the body, which can be processed and used for building a body snippet.
3. Building the Deep-linked URL
Once you’ve retrieved all the necessary info via IMAP, you just need to form the deep-linked URL that you can then access in your browser. Here’s how it’s structured:
In our case, we used a test server installed in our local network, which we access by IP.
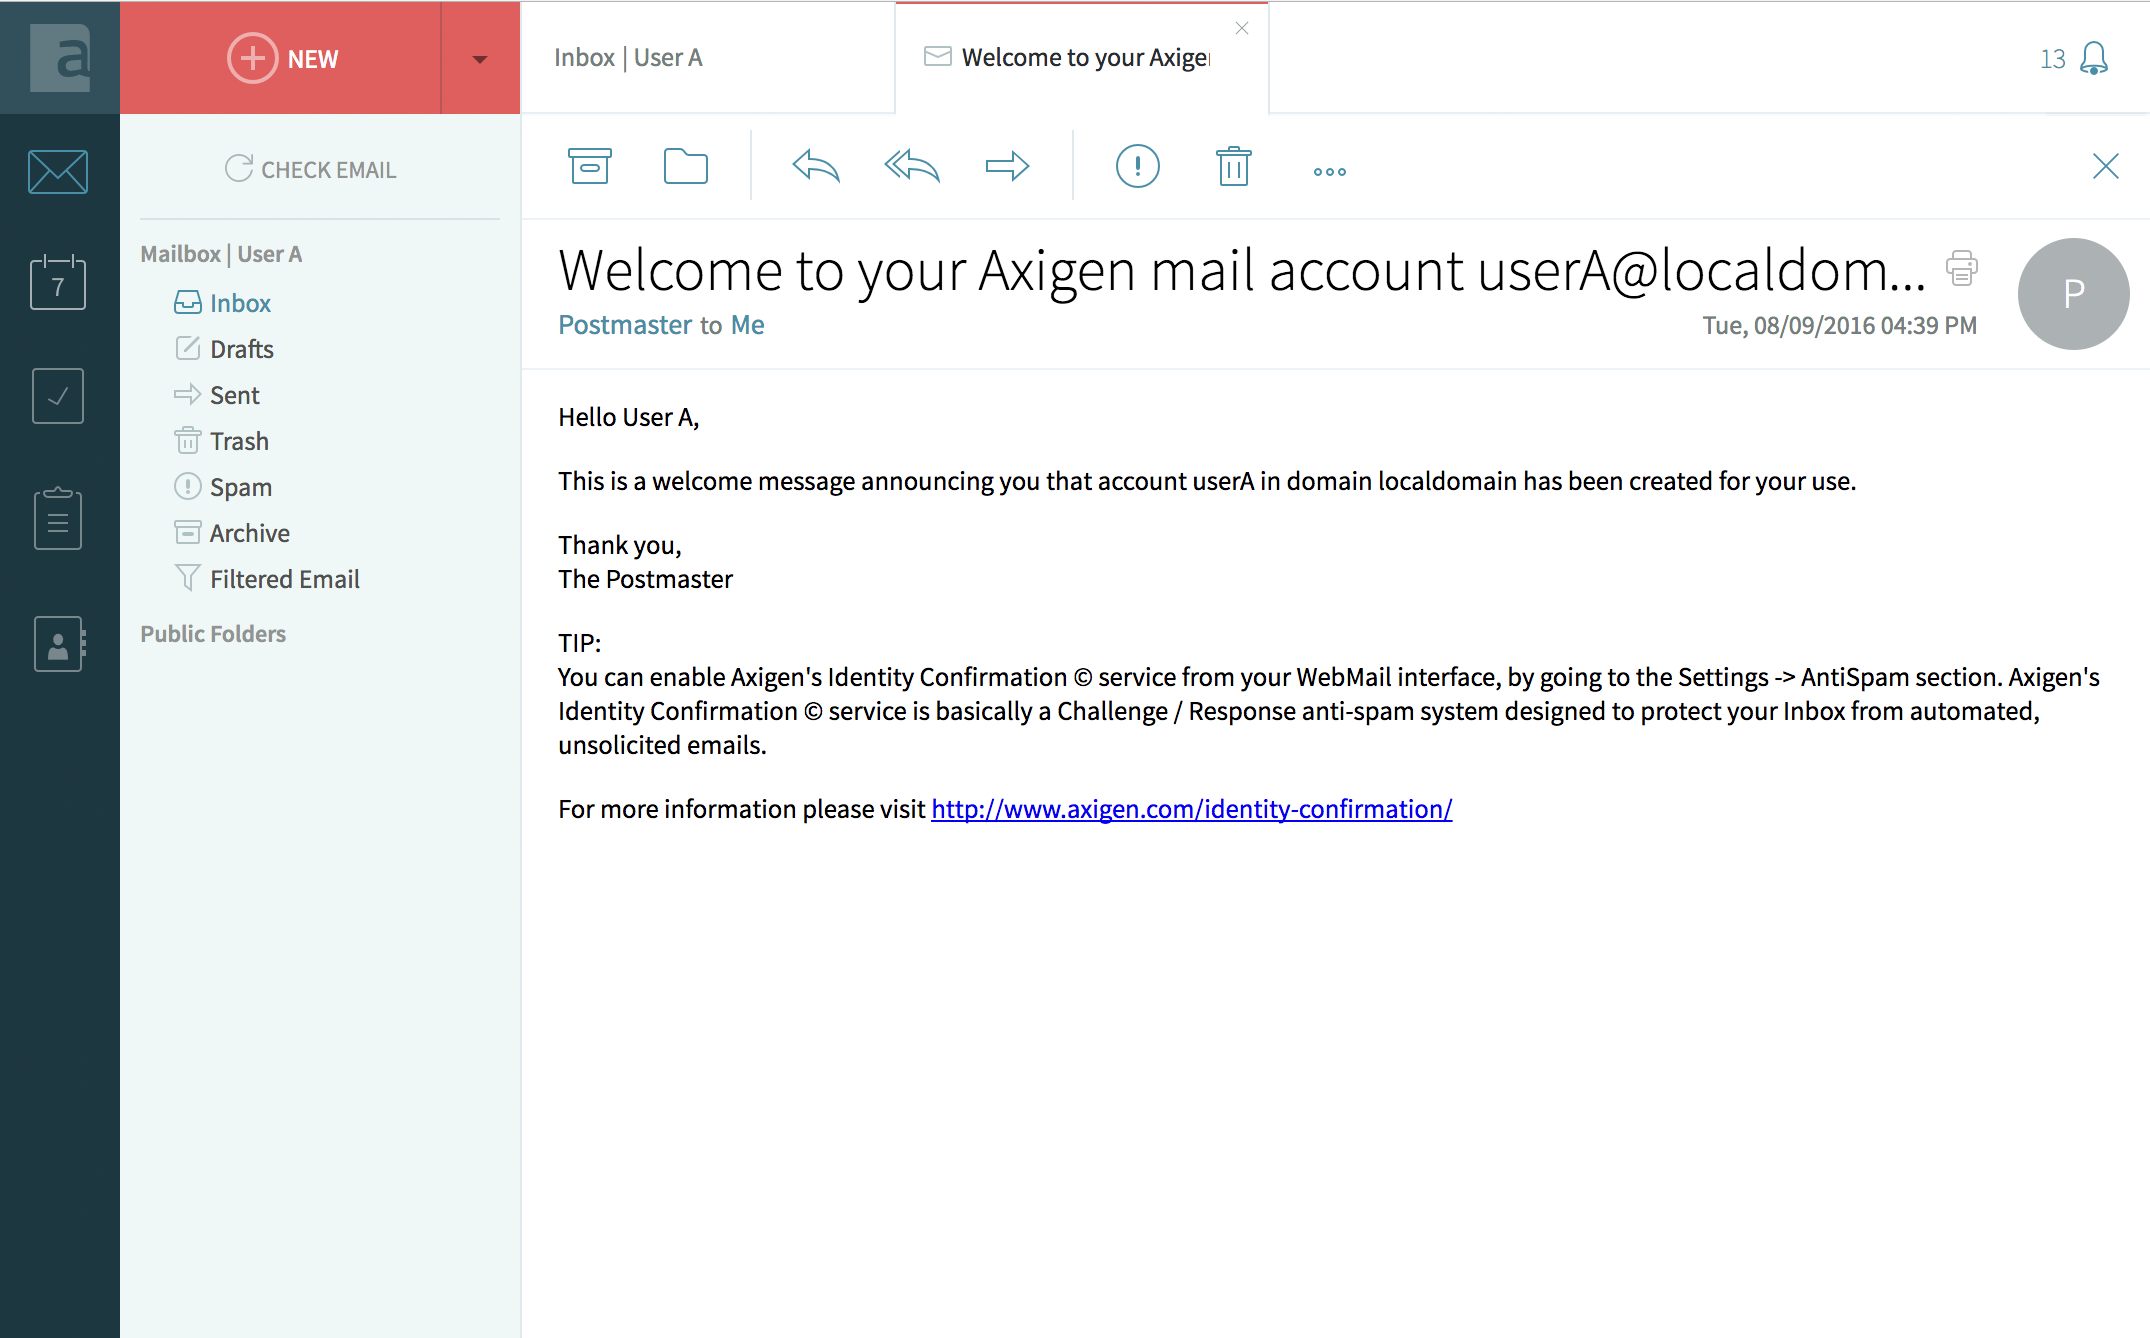
As you can see, when accessing this URL in the browser, the WebMail opens it in its own tab.

