Updated: November 7, 2024
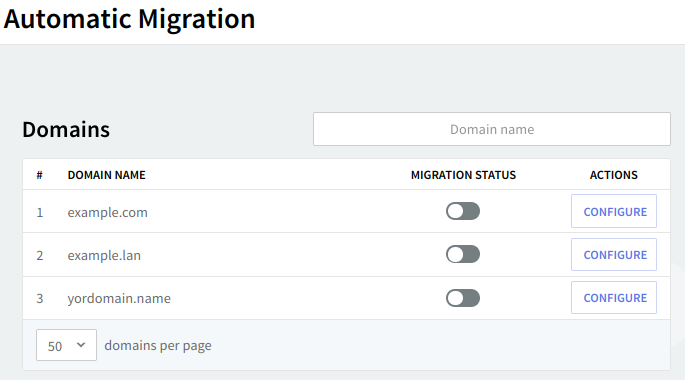
The "Automatic Migration" section allows you to enable and configure the automatic migration of domains previously managed with a different mail server to the Axigen mail server. When first accessing the tab, an alphabetical list of existing domains is displayed.
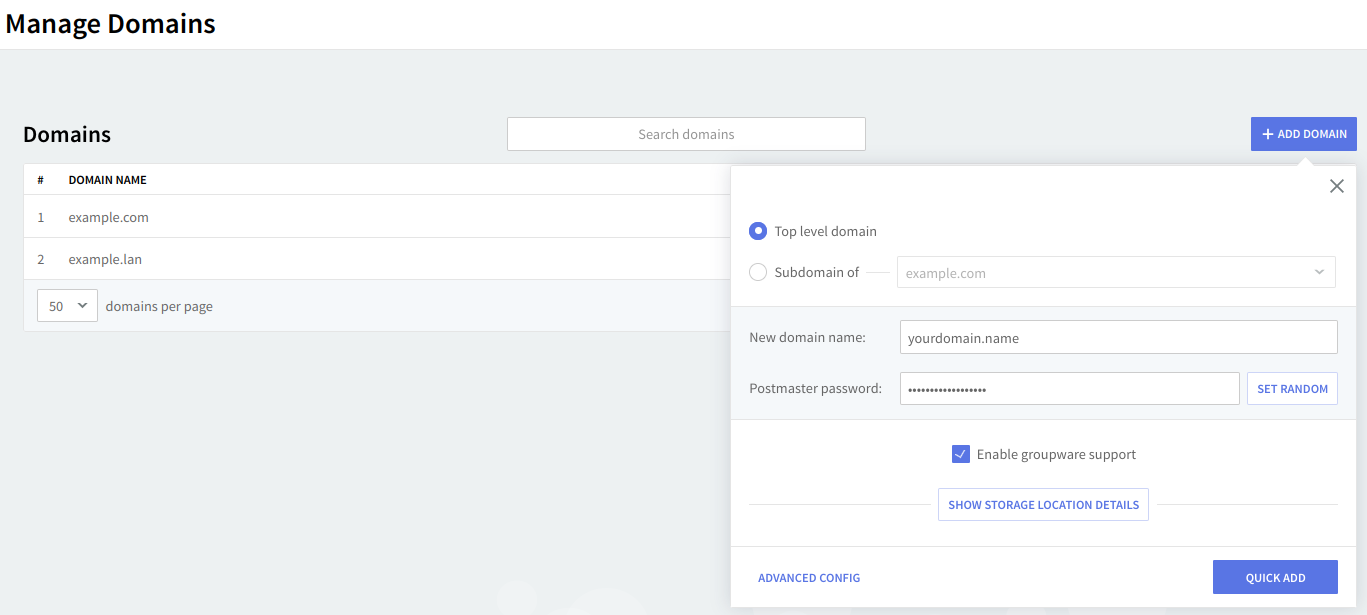
1. Create the domain that will be migrated by navigating to Domains & Accounts → Manage Domains → Add Domain.
2. Configure the auto migration parameters — under Automatic Migration, from the domain list, click on the "Configure" button for the domain that will be migrated.
The current status of the migration is displayed ("Migration Enabled / Disabled") and the opposite action button ("Enable / Disable") is available for each domain.
-
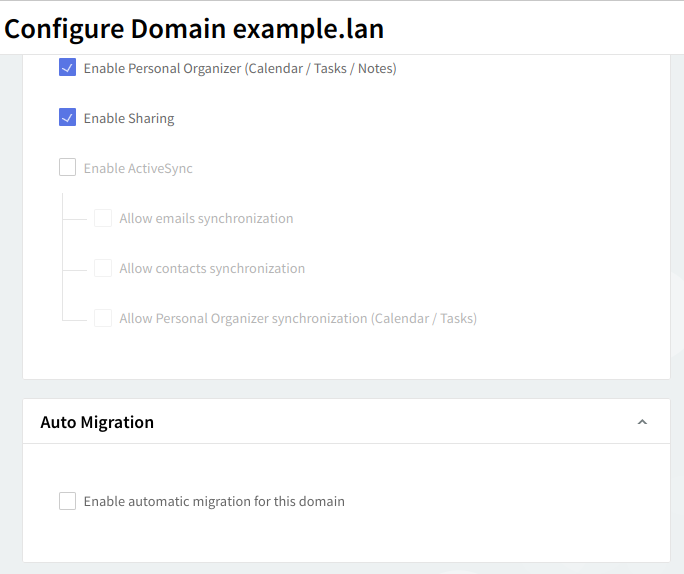
check the "Enable automatic migration for this domain"

-
select the account class used to create the accounts during the migration process. By default, the "domain default" account class is used

-
configure the connection details for the old server by specifying the IP / Hostname and port numbers for IMAP and SMTP services.
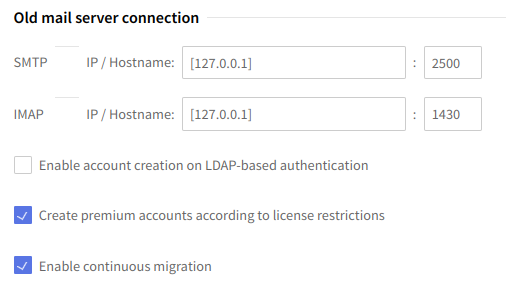
The Axigen Migration module requires an IMAP connection (SSL or non-SSL) to the remote server and the respective server must allow plain login authentication for the IMAP service.
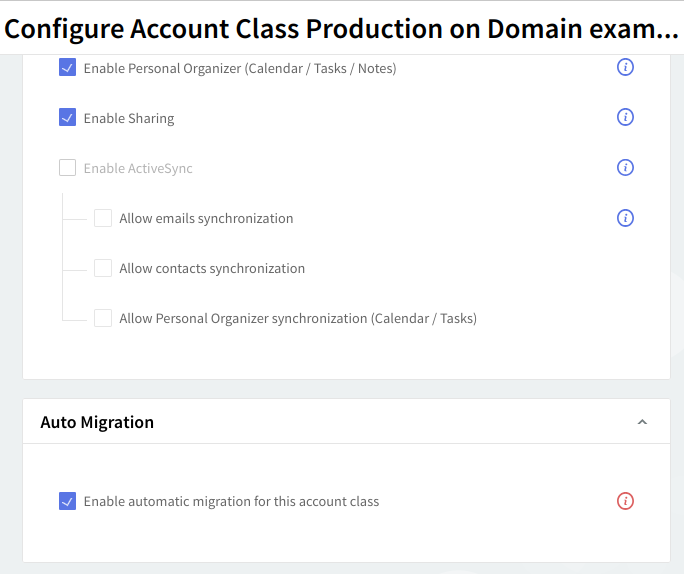
For the automatic migration to work on a domain, the account class used for created users (be it the domain default or a specific account class) needs to have the 'Enable automatic migration for this domain' checkbox enabled.
Some mail servers allow you to create folder names containing the "/" character. Axigen cannot migrate folders whose names contain this specific character, therefore you need to rename them before migrating so that the process is completed successfully.
-
The "Create premium accounts according to license restriction" option will allow the Automatic migration module to create a Premium account when a new user is created in Axigen by the migration process. If this option is unchecked all accounts created by the migration process will be basic (accounts without access to Calendar, Notes, Tasks, and premium add-ons like ActiveSync)

-
The "Enable continuous migration" option will resume the migration process each time the respective user logs in to his Axigen account, fetching the new items from the old server.

3. The account class used for created users (be it the domain default or a specific account class) needs to have the “Enable automatic migration for this domain” checkbox enabled available
-
domain default account class: WebAdmin → Domain & Accounts → Manage Domains → edit the domain that will be migrated → Account Defaults → General → Auto Migration section
-
specific account class: WebAdmin → Domain & Accounts → Account Classes → General → Auto Migration section
Account Creation Based on LDAP Authentication

Enable this feature to auto-create Axigen users with the credentials from LDAP if they authenticate successfully with the LDAP structure.
If LDAP synchronization is enabled for a domain, the automatic migration cannot be enabled for the respective domain. The administrator will be presented with the "Domain migration couldn't be enabled!" error.
This behavior is meant to ensure that accounts will not be automatically created (as part of the automatic migration process) when the Axigen service is synchronizing (creating / modifying) accounts from an LDAP server.
Migration of PIM Data from Select Legacy Mail Servers
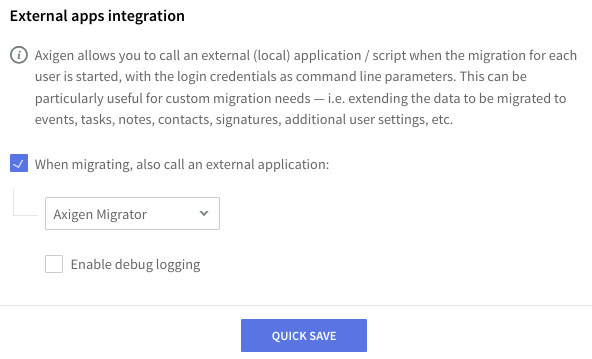
Starting with Axigen X2 (10.2.0), the Automatic migration module has been enhanced to support the call of external applications upon triggering the migration.
-
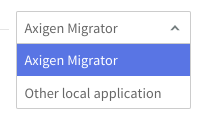
Axigen Migrator is a companion app, packaged with the Axigen product, which extends the auto-migration flow with the migration of PIM data (events, tasks, notes, and contacts) from Kerio Connect or CommuniGate Pro.
-
The Other local application option allows you to integrate a third-party application or custom script into the auto-migration flow, which gets called as part of the migration process for each user. This gives you the possibility to also migrate additional data, like events, tasks, notes, contacts, signatures, additional user data settings like avatars or filters, etc.
IMAP Service Configuration
-
Check to see whether there is a binary patch for Axigen Migrator here and apply it in your installation (There is a README file describing the procedure).
-
As of Axigen X2 Update 2 (10.2.2), the Axigen Migrator only does IMAP Plain Authentication in Axigen. This requires the following configuration change in the Axigen WebAdmin: Services → IMAP → Encryption and Authentication → Enable Normal Login and AUTH PLAIN on UNSECURED connections.