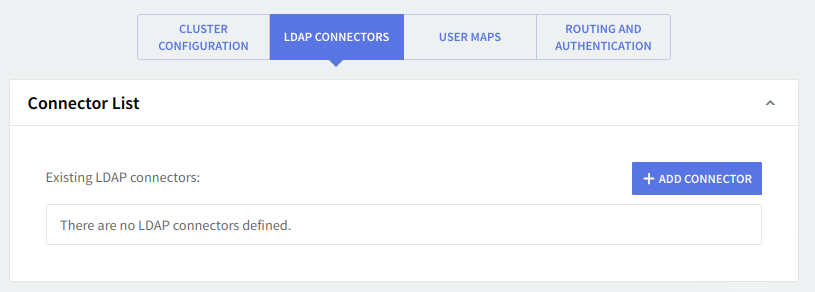
The "LDAP Connectors" page allows you to manage existing LDAP connectors and to create new ones as well as to configure some general parameters that direct logging and threading behavior for the connectors.
When first accessing the "LDAP Connectors" page a list of already defined connectors is displayed. To change the settings for an already defined LDAP connector hit its corresponding "Edit" button, to delete it use the "Delete" button.

To create a new LDAP connector, click the "Add Connector" button. Whether adding or editing a connector the same configuration window pops up.


The connector options should be entered based on the settings of your LDAP server and the intended usage of the Axigen LDAP connector.
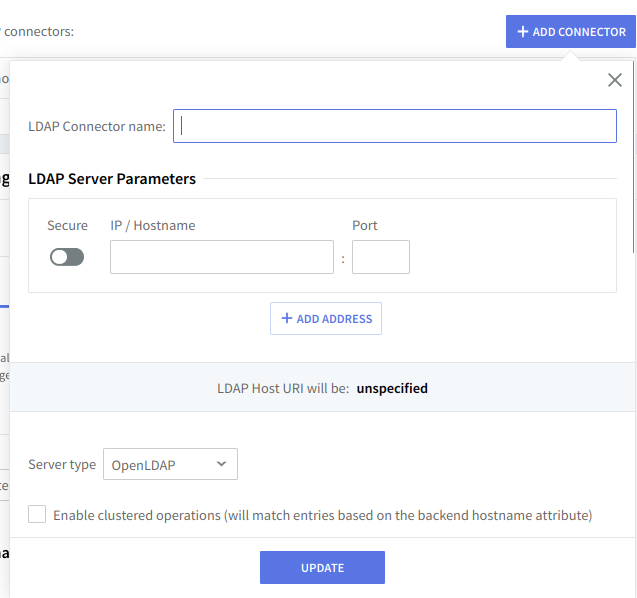
First, enter a name for the connector in the "LDAP Connector name" field.
In the "LDAP Server Parameters" enter:
-
the IP / Hostname and Port on which the LDAP server is listening. By default the port is 389;
-
from the "Server type" drop-down box select the server type you wish to use the connector with OpenLDAP or ActiveDirectory;
-
if you are setting up the Axigen server for a cluster environment check the box related to the "Enable Clustered Operations" option, which when enabled will determine Axigen to match entries based on the backend hostname attribute).
If you enable this option in an Axigen to LDAP synchronization process, Axigen will add the mailHost parameter to Axigen accounts synchronized with the LDAP server. For the mailHost parameter, Axigen will use the value set in WebAdmin → "Global Settings" → "General" section → "Server name". By default, this is the station hostname on which Axigen is installed.
-
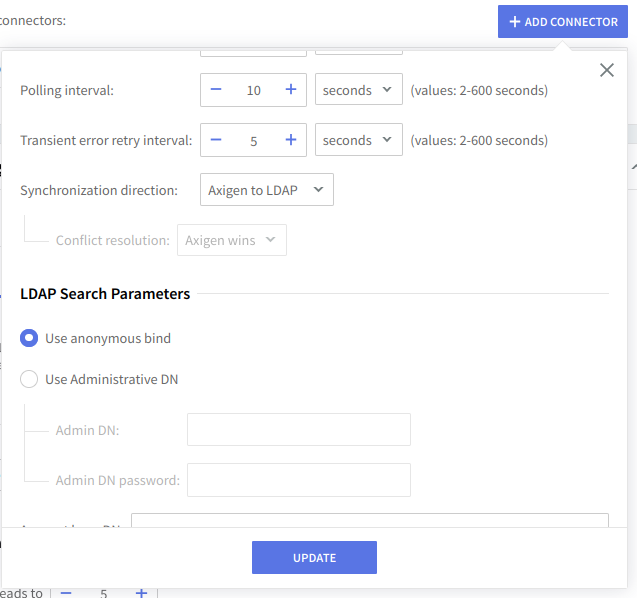
in this section, you can also set the "Timeout" counter (interval corresponding to the timeout on an Axigen ↔︎ LDAP connection) which is by default set to 4 seconds and can take values between 1-600 seconds, the "Polling interval" (time between two automatic Axigen to LDAP queries) which is by default set to 10 seconds and can take values between 2-600 seconds and "Transient error retry interval" counter which is by default set to 5 seconds and can take values between 2-600 seconds.
-
select the required synchronization method from the drop-down box related to the "Synchronization direction" entry. You can choose to use Axigen to LDAP, LDAP to Axigen or Both ways. If you choose both ways of synchronization you will then have to choose a winner for the situations when there is a parameter synchronization conflict (LDAP and Axigen have a different value for a parameter).
In the "LDAP Search Parameters" you can:
-
Enable the "Use Administrative DN" – this option instructs Axigen to authenticate, using the defined user, to the LDAP server before requesting information. This user is the admin user defined in the LDAP
rootdnconfiguration; -
Enter the proper "Admin DN" and "Admin DN Password";
-
In the "Account base DN" field, enter the DN of the LDAP organizational unit where the user accounts are defined. For example
ou=Users,dc=example,dc=test. You can also use the%xparameter to create a connector that can be used in a multiple-domain setup, which will expand depending on the name of the synchronized domain. -
Suppose you wish to also synchronize the Axigen Groups with the LDAP server. In that case, you can optionally check the box related to "Enable Group Synchronization" and enter in the "Group base DN" field the DN of the LDAP organizational unit where the group accounts are defined. For example:
ou=Groups,dc=example,dc=test. You can also use the following placeholders, to create a connector that can be used in a multiple domain setup, which will expand depending on the name of the synchronized domain:
-
If you wish to use a custom correspondence between the Axigen account parameters and the LDAP parameters, you can check the box related to the "Use custom schema" option. Then enter the custom schema file name in the related text box. To obtain a custom schema for your setup, please contact our support line, making sure you provide them with your requirements and examples of what custom account parameters you wish to use.
In the "LDAP Routing Configuration" section, you can set the "Hostname" attribute, which has to point to the LDAP account parameter that holds the hostname of the server where the account is located (ex: mailHost). This parameter is used by Axigen when you configure SMTP or WebMail / IMAP / POP3 proxy routing to determine to which server it will route the respective connection. This is useful in a clustered environment.
An integration example for OpenLDAP and Axigen in a multi-domain setup can be found at: Configuring LDAP synchronization for multiple domains.
Other LDAP integration-related information is available in our Knowledge Base LDAP articles.
Logging Parameters

You can select several types of messages to be logged for the Clustering module: critical messages, error messages, warning messages, informational messages, and protocol communication. To select which of these are to be logged click the "Log Level" slider and move it to the left or the right. The selected types of messages will change color from gray to blue.
Log files can be stored using your internal log files, your system's log files or within the log files located on a remote system. Use the "Log" drop-down menu to select where to have your log files saved.
Thread Management

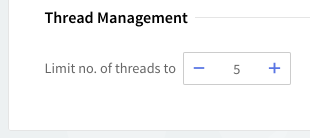
Thread management allows you to set different numbers of processing threads for the LDAP Connectors depending on your traffic load. Set a number of threads to be allotted when the LDAP Connectors are started using the up and down arrows.
When you are done configuring these parameters, remember to click the "Save Configuration" button to preserve your changes.