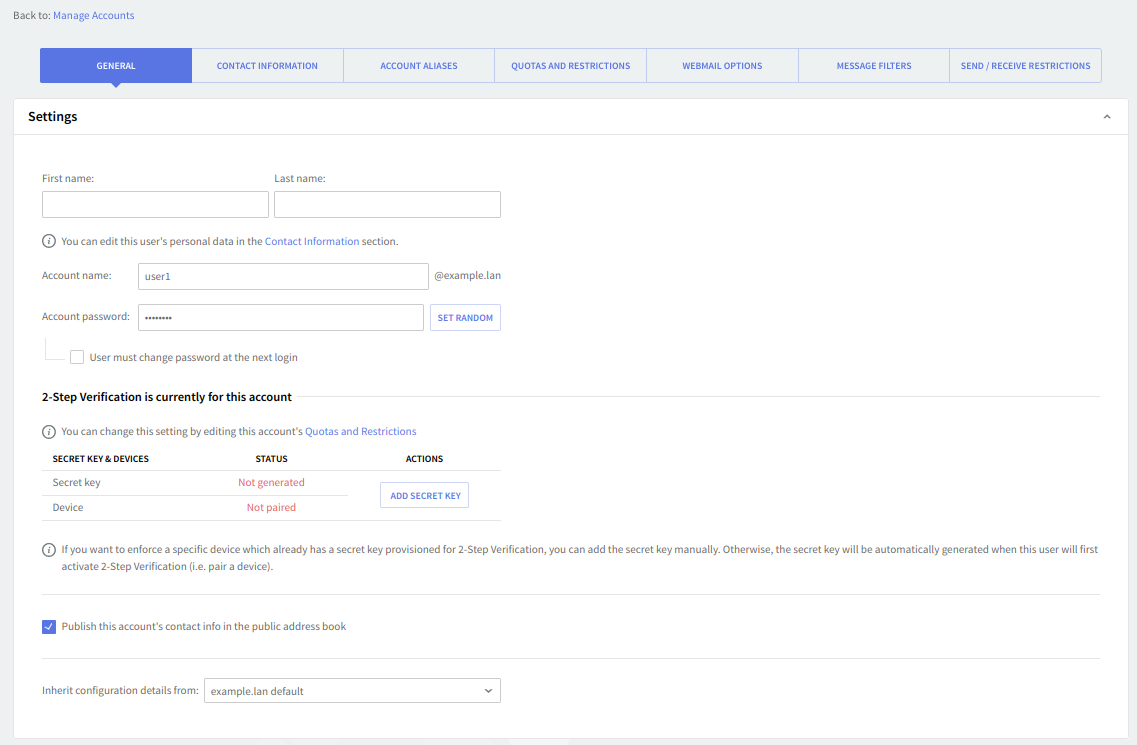
The "Manage Accounts" → "General page" allows administrators to manage the general settings for a specific user account, including personal details, password management, and security options like 2-Step Verification.
Below is a detailed explanation of each section.
1. Personal Information
-
First name / Last name:
-
These text fields allow you to modify the first and last name of the person the account is created for.
-
Use these fields to ensure that the correct name is associated with the user account.
-
Note: You can also edit other personal details by visiting the Contact Information section linked in this panel.
-
-
Account name:
-
This field displays and allows editing of the username (
user1) associated with the domain (@example.lan). You can change the account name directly in this field.
-
2. Password Management
-
Account password:
-
You can change the account’s password by typing a new one in the provided text field.
-
Alternatively, click the Set Random button to generate a random password combination. When using this button, the randomly assigned password will be displayed just beneath it.
-
User must change password at the next login: Check this box if you want to force the user to change their password the next time they log in. This is useful for security purposes, especially after an administrator has changed the password.
-
3. 2-Step Verification
This section controls 2-Step Verification settings for the account, adding an additional layer of security.
-
Status Overview: A message informs you that 2-Step Verification is currently enabled for this account, but detailed changes to this setting must be made in the Quotas and Restrictions section, which can be accessed via a hyperlink.
-
Secret Key & Devices Table: This table manages secret key generation and device pairing for 2-Step Verification.
-
Secret Key:
-
Status: Not generated: Indicates no secret key has been created for this account.
-
Actions: Add Secret Key: Clicking this button will either generate a new secret key or allow you to input an existing one for 2FA.
-
-
Device:
-
Status: Not paired: This shows that no device has been paired with the account for 2-Step Verification.
-
Actions: Add Secret Key: This same button will also allow you to pair a device after generating or entering a secret key.
-
-
Additional Info: An information icon provides additional guidance, explaining that you must add a secret key manually or it will be automatically generated when the user first enables 2-Step Verification. Devices will need to be paired accordingly.
-
4. Public Address Book
-
Publish this account's contact info in the public address book: This checkbox allows you to decide whether the contact information of this account should be displayed in the Domain Contacts public folder.
-
If this option is checked, the account’s details will be published and visible to other users in the domain.
-
5. Inherit Configuration Details
-
Inherit configuration details from: This drop-down menu allows you to manage the account’s configuration.
-
Use this option to either inherit the default settings established at the domain level or select a predefined account class for the account you’re managing.
-
In the example shown, the default settings are inherited from
example.lan default.
-
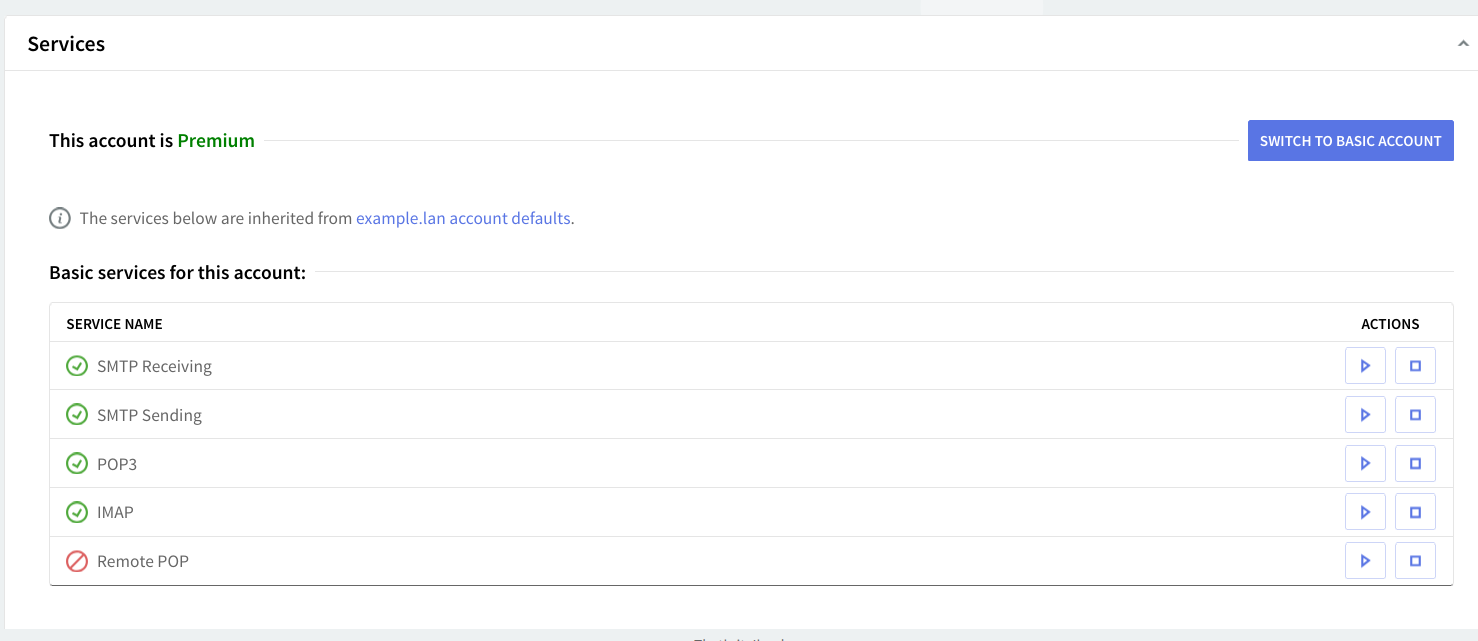

The "Services" section provides a list of account-related services and their current statuses. This section allows administrators to enable or disable individual services based on the needs of the account. The available services may differ depending on the account type and the licensing model in use. Below is a detailed breakdown of the options.
1. Account Type
-
This account is Premium: This message displays the current type of the account, which can either be "Premium" or "Basic." In this case, the account is categorized as Premium.
-
Switch to Basic Account: Clicking this button will switch the account to a Basic account type. This option is useful for downgrading services or reducing features tied to the account. Similarly, for accounts currently marked as "Basic," this button will appear as "Switch to Premium Account" for upgrading purposes.
-
2. Service Status Table
The table below shows the list of basic services available to the account, with their current statuses and actions that can be taken. At the account level, only services directly affecting account behavior are displayed:
-
SMTP Receiving: Displays a green checkmark, indicating that this service is currently enabled for the account.
-
This service is responsible for handling incoming emails via the Simple Mail Transfer Protocol (SMTP).
-
-
SMTP Sending: Also marked with a green checkmark, meaning the account is allowed to send outgoing emails using SMTP.
-
POP3: This service is enabled (green checkmark) and allows the account to receive emails via Post Office Protocol 3 (POP3).
-
IMAP: Displays as enabled (green checkmark), indicating that the Internet Message Access Protocol (IMAP) is active for the account, allowing for email synchronization across multiple devices.
-
Remote POP: This service is disabled, as indicated by the red icon. Remote POP enables receiving emails from external servers but is not currently available for this account.
3. Actions
-
Action buttons: Next to each service, there are two action buttons:
-
Play/Activate button: Enables the service when clicked, if the service is currently disabled.
-
Stop/Deactivate button: Disables the service when clicked, if the service is currently enabled.
-
These buttons give administrators control over toggling services on or off as needed.
-
4. Licensing Considerations
-
The services below are inherited from
example.lan account defaults: This message indicates that the displayed services and their default statuses are inherited from a broader domain-level configuration. -
Service Classification: Depending on the licensing model, services may be divided into Basic services and Premium services:
-
For Pay-per-use MSP and Perpetual Business Messaging licensing models, services are categorized accordingly.
-

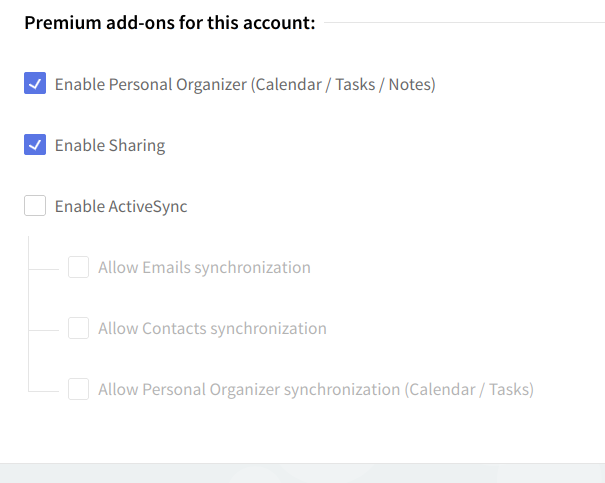
Below these sections, you can find the "Premium add-ons" section which lets you configure the access to each premium feature, as presented in the following screenshot.
Account Types and Premium Add-Ons:
-
Basic vs Premium Accounts:
-
Basic Accounts: Even if premium options are selected, they will not be available to the user until the account is switched to premium.
-
Premium Accounts: To give the user access to premium features, the account must be upgraded to a premium account.
-
-
Available Premium Add-ons:
-
Personal Organizer: This add-on provides access to features like the Calendar, Tasks, and Notes. Users can organize their schedules, manage tasks, and take notes.
-
Sharing: This feature enables the user to share folders with others or access folders that other users have shared. It enhances collaboration by allowing the exchange of files and documents.
-
ActiveSync: This add-on enables the synchronization of emails, contacts, and Calendar/Tasks data with mobile devices using an ActiveSync client. It allows for seamless integration of these services across devices.
-
Managing Add-ons:
-
Each of these add-ons has a checkbox.
-
Checked Box: Allows the user access to that specific premium feature.
-
Unchecked Box: Restricts or removes the user's access to that particular feature.
-
Administrators or account managers can control what premium services are available to each user by checking or unchecking the corresponding boxes.
Filtered Email:
-
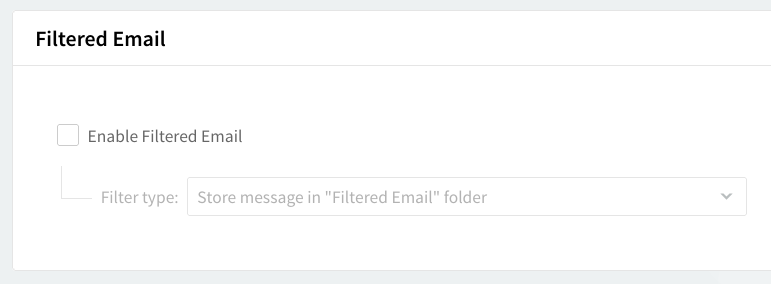
Purpose: Axigen's Filtered Email system is designed to help users reduce the amount of unwanted or malicious emails (spam) they receive. It serves as an Anti-Spam tool by filtering out messages that are likely to be spam before they reach the user’s inbox.
Identity Confirmation© System
-
What It Is: This system includes a challenge/response-based method for spam prevention, which adds an extra layer of verification to emails received by the user.
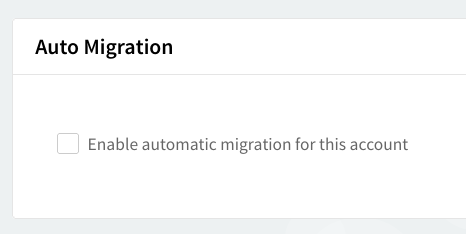
The Auto Migration Feature
-
The Auto Migration section manages the data migration process for user accounts, particularly useful when switching from an old system to a new one.
-
The migration process is stateful, meaning it remembers the last state of the migration if it was incomplete and can continue from that point during the next user login.
-
If the migration is marked as complete, but auto migration is still enabled, the system will continue to perform synchronization between the new and old servers, ensuring that data remains consistent across systems.
-
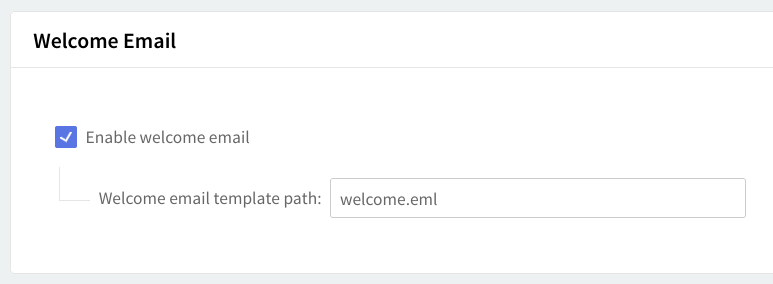
The Welcome Email Option
-
There is a specific feature to control whether a welcome email is sent to a user when their account is created.
-
Administrators can enable or disable this initial welcome message for each user individually, controlling whether the user is notified via email about their account setup.
-

Customer Reference Field:
-
Purpose: This field is meant to assist with identifying the account, especially when integrating with external billing systems. It allows administrators or billing departments to uniquely tag or reference an account using a custom label.
-
Customizable Field: The field can be populated with up to 255 alphanumeric characters. This means you can use a combination of letters and numbers to create a unique reference code for each account, which helps in linking the account to other systems (e.g., for billing, support, or tracking purposes).
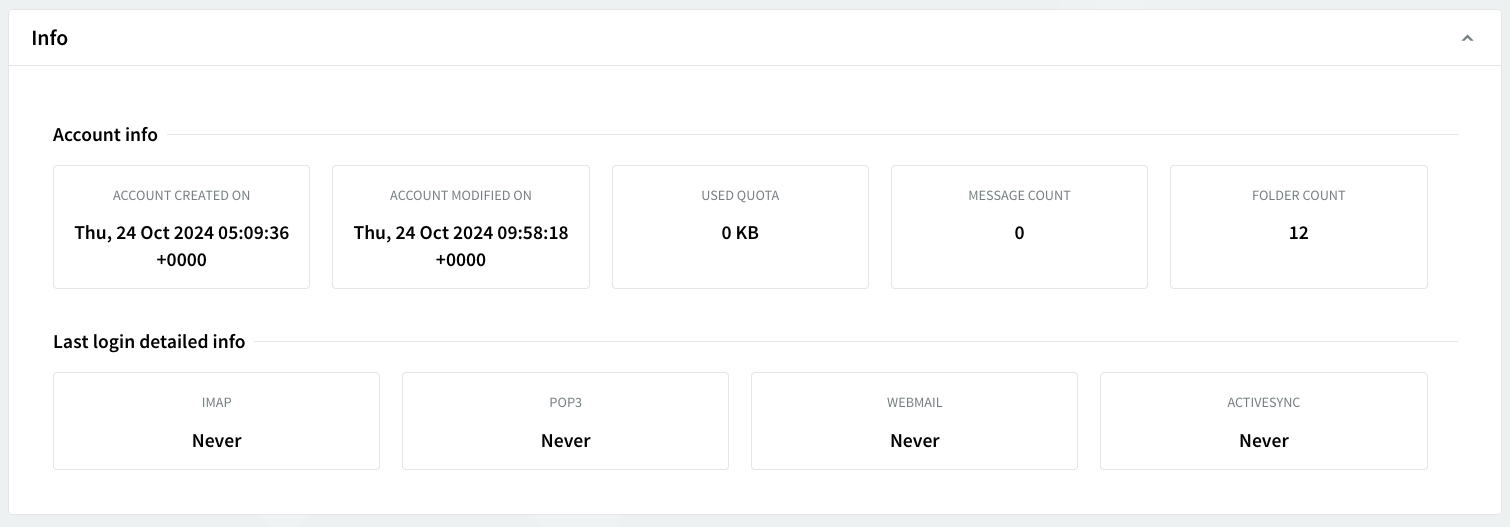
Info Section:
The "Info" section provides useful account-related details, which include:
-
Account Creation Date: The date the account was initially created. This helps in tracking how long the account has been active.
-
Used Quota: Displays how much of the allocated storage or resources the user has consumed. This is helpful for monitoring account usage and managing storage limits.
-
Last Login Information: This section tracks the time, date, and IP coordinates of the most recent logins. It provides detailed insights about when and from where the user last accessed their account through various methods:
-
IMAP: Internet Message Access Protocol, commonly used for retrieving emails.
-
POP3: Post Office Protocol, another protocol for receiving emails.
-
WebMail: When the user accesses their account via a web-based mail interface.
-
ActiveSync: Refers to synchronization of data (emails, contacts, calendar, etc.) between the server and mobile devices.
-